
Understanding Solar Dehydration
What is Solar Dehydration?
Solar dehydration is a natural method to preserve food using sunlight. I first got into it during the summer when I had an abundance of fruits and veggies from my garden. By using the sun’s power, you can remove moisture from food, which helps prevent spoilage. It’s an eco-friendly way to keep your harvest around longer!
This method not only saves food; it also retains a lot of the nutrients that might be lost in conventional drying methods. You’d be amazed how just a few hours of sun can turn fresh tomatoes into delicious dried snacks. Trust me, it’s like a game-changer when you want to enjoy those summer flavors later in the year.
Solar dehydration is also a fantastic way to cut down on waste. Rather than letting those ripe peaches go bad, you can dry them and have a tasty treat that lasts for months. Really, once you get the hang of it, it can even become a fun hobby!
Materials You’ll Need
Gathering the Basics
To build your DIY solar dehydrator, you don’t need fancy gadgets. The first things I gathered were wood for the frame, wire mesh for the drying trays, and some clear plastic for the cover. I recommend heading to your local hardware store and asking for scrap wood; you might get lucky and find some pieces for free!
Along with the frame materials, make sure you grab screws and a good coat of non-toxic paint or sealant. The paint isn’t just for looks; it protects the wood from moisture and helps with durability. It feels great to use recycled materials and still create something functional!
Don’t forget to check out online tutorials or guides. There are loads of design variations when it comes to solar dehydrators. They can range from simple box models to more intricate designs that resemble small greenhouses.
Designing Your Dehydrator
Choosing the Right Design
So, when I started drafting my solar dehydrator, I had a few designs in mind. The key is to create something that allows for airflow and sunlight exposure. A simple box shape has always worked best for me and keeps everything compact. Just sketch out your vision to guide you while building!
Lorem ipsum dolor sit amet, consectetur adipiscing elit. Curabitur eget odio vel enim eleifend tincidunt. Integer ac pellentesque nisl. Sed fermentum eu justo sed tincidunt. Praesent pretium ipsum non ligula posuere, ac scelerisque quam sollicitudin.
Make sure to cut the wood pieces to your desired dimensions and assemble them with screws for sturdiness. I’ve made the mistake of being too hasty before, and let me tell you, a wobbly dehydrator won’t yield good results. Patience is key!
Building the Dehydrator
Step-by-Step Construction
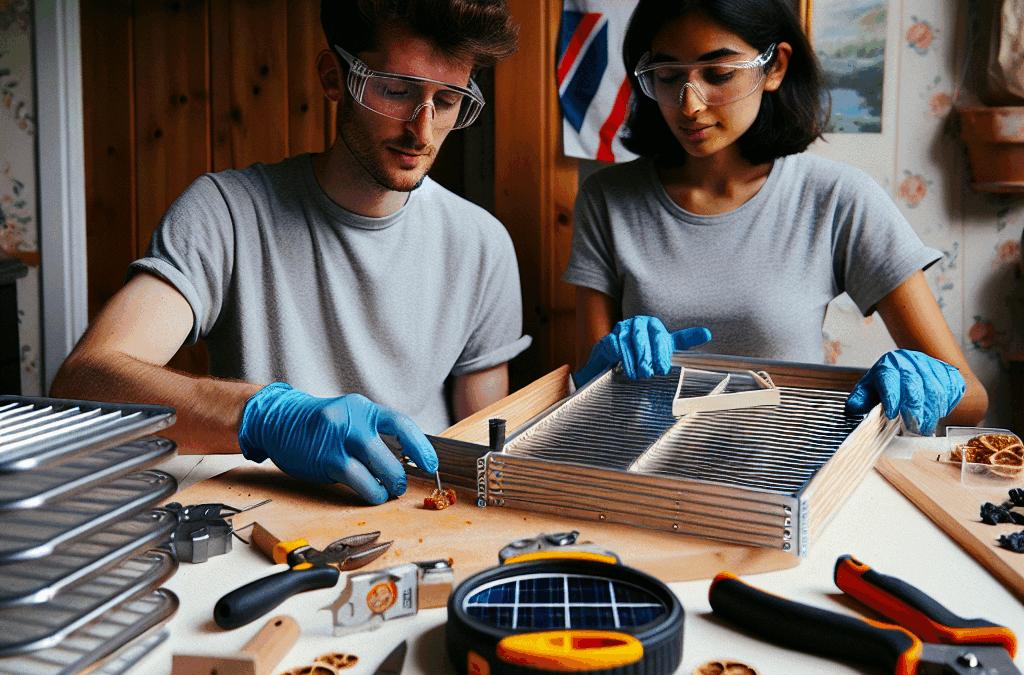
Construction time! I felt a mix of excitement and a bit of nervousness as I assembled my dehydrator. The first step is building the main frame – it’s like the skeleton of your project. Using those wood pieces you gathered, create a rectangular shape.
After the frame is built, it’s time to attach wire mesh on all sides. This mesh allows air to circulate freely while keeping pests out. The mesh should be tight enough to prevent little bugs from sneaking in but loose enough to let the moist air escape.
Lastly, add a clear plastic cover to the top—this will trap the heat inside. If done right, your dehydrator should be like a mini greenhouse. Once I had everything in place, I stepped back and couldn’t believe I’d made it myself!
Using Your Solar Dehydrator
Best Practices for Drying Food
Now comes the fun part: using your dehydrator! Start by slicing your fruits or vegetables evenly. I usually lay them out on the mesh trays in a single layer – this helps them dry more efficiently and evenly. I recommend some acidity, too: a quick soak in lemon juice for fruits works wonders to preserve color.
Next, find a sunny spot in your yard. It’s best to have the dehydrator face south and be positioned where it gets sunlight for most of the day. On particularly hot days, my dehydrator can be ready in just a few hours, but check on them periodically. Remember, you want them dried, not burnt!
Once your food is dried to your liking, make sure to store it properly in airtight containers. This step is crucial because moisture will make your dried snacks go bad. I like to use glass jars or vacuum-sealed bags for storage. Trust me, once you taste that homemade dried fruit, you’ll want to keep them safe!
FAQ
A: It really depends on the type of food and weather conditions. Most fruits take about 6 to 12 hours to dry completely. Always check them periodically!
A: While it is possible, it’s usually safer to use a dehydrator designed for meats or an oven. The temperatures need to be higher to avoid foodborne illnesses.
A: Fruits like apples, bananas, and grapes are fantastic! Veggies like herbs, tomatoes, and peppers work great, too. Experiment to find your favorites!
A: Not at all! Most of the materials can be found at home or super cheap at hardware stores. It’s a fun project that doesn’t break the bank!
A: Ideally, it’s best used outdoors since it needs sunlight. Indoors would limit its effectiveness and could lead to moisture build-up.


