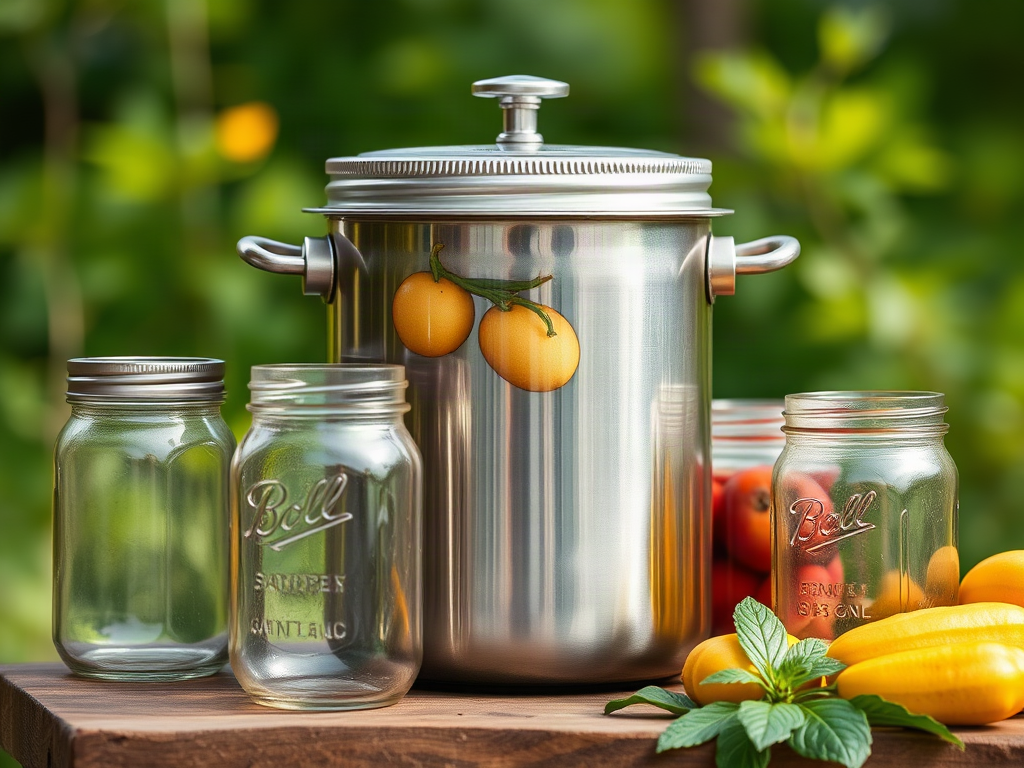
Canning equipment safety for new homesteaders depends on matching the canning method to the food, inspecting pressure-canner parts, and preventing heat, steam, glass, and seal failures. Use a pressure canner for low-acid foods such as meat, beans, and plain vegetables, while boiling-water canning is generally used for properly acidified foods such as fruits, pickles, and jams. Check the vent, gasket, gauge, jars, lids, and rack before each batch, and follow a tested recipe for processing time and pressure. Never force a hot canner open, reuse disposable flat lids, or assume a jar is safe because it sealed. Let equipment cool naturally, inspect each seal, and discard questionable food rather than tasting it.
Match the Canner to the Food
The first equipment decision is determined by acidity, not by jar size or personal preference. Boiling-water canners use a lower-temperature process suitable for high-acid foods and recipes made safely acidic through ingredients such as vinegar, bottled lemon juice, or citric acid. Pressure canners reach the higher temperatures needed for tested processing of low-acid foods, including plain vegetables, meat, poultry, seafood, and many combinations containing those foods.

A boiling-water canner is often the simpler starting point because it has fewer mechanical parts and is useful for fruit, jams, jellies, and properly formulated pickles. It is not an interchangeable substitute for a pressure canner. A large stockpot with a lid may work for some boiling-water applications if jars can sit on a rack with water covering them by the amount specified in the tested recipe, but it does not become a pressure canner because a lid is added.
Pressure canners are available with dial gauges, weighted gauges, or both. A dial gauge displays pressure and may need periodic accuracy testing through a local extension service, while a weighted gauge signals pressure through a regulator or rocking motion according to the manufacturer’s instructions. Neither style makes an untested recipe safe. Processing time, pressure, altitude adjustment, headspace, and jar capacity work together.
A common beginner mistake is treating pressure as a shortcut for any recipe. Increasing pressure does not automatically compensate for reducing processing time, packing jars too tightly, or changing ingredients. Follow a current tested recipe from a university extension service, the National Center for Home Food Preservation, or the manufacturer’s approved instructions. Equipment safety begins with choosing a process that the food actually requires; Canning Equipment Safety for New Homesteaders cannot be separated from food-process safety.
Inspecting Pressure Canner Parts
A pressure canner should be inspected before every use because small defects can affect pressure control or create a burn hazard. Examine the lid, sealing surface, gasket if the model uses one, vent pipe, pressure regulator, overpressure plug, and handles. The lid should lock and seal according to the manufacturer’s design. Do not use a canner with a cracked lid, damaged safety plug, warped sealing edge, loose handle, or vent that cannot be cleared.
Vent inspection deserves particular attention. Food residue, mineral scale, or insect debris can obstruct the vent and prevent reliable pressure regulation. Hold the lid up to the light when practical and confirm that the opening is clear. Use the cleaning method specified by the manufacturer; forcing a sharp object through a passage can damage the part or push debris deeper. A soft cleaning tool designed for the model is safer than improvising with wire.
Gaskets may harden, crack, stretch, or lose flexibility. A gasket that looks intact can still fail to seal if it has become brittle or is installed incorrectly. Replacement parts should match the exact canner model rather than merely appearing similar. Dial gauges should be checked according to local extension guidance, especially before relying on an older gauge. A gauge that reads inaccurately can expose food to insufficient processing even when the canner appears to operate normally.
Do not attempt to repair pressure equipment with household sealant, substitute hardware, or a mismatched regulator. The tradeoff between saving a part and replacing it is unfavorable when the component controls steam pressure. If steam escapes continuously around the lid, the cause may be a dirty rim, misplaced gasket, warped lid, or damaged sealing surface. Turn off the heat and allow the canner to depressurize naturally before investigating; never reach over escaping steam or try to tighten a hot lid.
Jar, Lid, and Loading Safety
Glass jars must be designed for home canning and free from chips, cracks, and deep scratches. Inspect the rim carefully because a tiny defect can prevent a lid from sealing or cause a jar to break during heating. Reused commercial food jars are not a dependable replacement for purpose-made canning jars; their glass shape and thickness may not tolerate repeated thermal stress in the same way.
Wash jars, lids, and bands according to the recipe and manufacturer guidance. Use new flat lids when the closure system requires them. Screw bands may be reused if they are not bent or rusty, but they should be tightened only to the recommended fingertip-tight position. Over-tightening can interfere with air release during processing, while a loose band may allow liquid loss or lid movement.
Headspace is functional, not decorative. The space between the food and the lid allows for expansion and helps create the vacuum needed during cooling. Too little headspace may force food under the lid, preventing a clean seal; too much can leave excessive air and reduce the expected quality of the finished product. Measure it with a canning ruler rather than estimating by eye, particularly with dense foods or recipes containing large pieces.
Loading technique also affects breakage. Place jars upright on a rack, avoid letting them touch each other or the canner wall, and use a jar lifter that grips below the neck. A cold jar placed into very hot water can experience thermal shock, as can a hot jar set on a cold counter. When a recipe calls for hot jars or hot liquid, keep temperatures reasonably matched. If a jar cracks during filling, processing, or removal, do not try to save the contents; broken glass can spread through the batch.
Safe Operation, Cooling, and Storage
Safe operation requires controlling steam and resisting the urge to speed up the process. For pressure canning, vent the canner for the period specified by the tested instructions before applying the pressure regulator. This step removes air from the chamber; skipping it can produce a pressure reading that does not represent the intended processing environment. Once pressure is reached, adjust heat gradually enough to maintain the prescribed pressure without violent fluctuations.
A pressure canner should remain attended. A burner set too high may cause excessive pressure changes, liquid loss, or unnecessary strain on components, while too little heat can allow pressure to fall below the required level. If pressure drops below the recipe’s specified value, do not guess whether the batch is acceptable. Use the tested instructions for that situation, which may require bringing pressure back up and restarting processing time.

When processing ends, turn off the heat and allow pressure to return to zero naturally. Do not cool the canner under running water, lift the regulator to vent steam, or force the lid. Rapid depressurization can cause liquid to siphon from jars, damage seals, or create a sudden steam release. After the pressure indicator confirms zero, wait for the manufacturer’s recommended interval, then open the lid away from your face and body.
Remove jars upright with a lifter and place them on a towel in a draft-free area. Do not retighten bands, press the lid, or carry hot jars by their bands. After the cooling period specified by the recipe, check the seal and wipe jars clean. A sealed lid is only one quality check, not proof that an incorrect process was safe. Label jars with the food and date, store them without bands if recommended by the preservation authority, and discard jars with bulging lids, leakage, spurting liquid, mold, off odors, or other suspicious changes. Never taste questionable home-canned food.
A Practical Pre-Batch Safety Check
A short inspection before heating prevents more problems than emergency troubleshooting after steam, pressure, or broken glass appears. New users should perform the same deliberate sequence until it becomes familiar, while experienced canners should use it when operating an unfamiliar model or returning to canning after storage.
- Confirm the method: Verify that the food, recipe, jar size, processing time, pressure, and altitude adjustment agree with a tested source.
- Check the canner: Clear the vent, inspect the gasket and safety plug, confirm the regulator is correct, and make sure the lid locks as designed.
- Check the jars: Reject chipped, cracked, scratched, or questionable jars; use the specified size and leave the measured headspace.
- Prepare the workspace: Keep handles turned away from burner edges, provide a stable heatproof surface, and keep children and pets away from the steam zone.
- Plan the cooling stage: Have a jar lifter, towels, labels, and adequate counter space ready before processing begins.
The best equipment choice also reflects the household’s actual workload. A pressure canner may be necessary for a harvest of green beans, but it demands more inspection and attention than a boiling-water canner used for peaches. A smaller batch can be a sensible first practice run because it lets a new homesteader learn venting, pressure control, jar handling, and cooling without filling every available burner and counter.
Stop the process when equipment behavior is unclear. Persistent steam leakage, a damaged gauge, an unresponsive pressure indicator, a cracked jar, or a lid that will not lock is a reason to cool the equipment and consult the manual or a qualified extension educator. Continuing because the batch is already underway turns a manageable interruption into a preventable injury or food-safety problem. For a broader preservation workflow, use Canning Equipment Safety for New Homesteaders alongside the recipe-specific instructions, not in place of them.
Frequently Asked Questions
Can a stockpot replace a pressure canner?
No. A stockpot may be suitable for some boiling-water recipes when jars can be covered and supported correctly, but it cannot safely process low-acid foods under pressure.
How often should a pressure-canner dial gauge be tested?
Follow local extension-service guidance and the manufacturer’s instructions. Testing is especially prudent for an older, dropped, damaged, or questionable gauge.
Can scratched canning jars still be used?
Deep scratches, chips, and cracks warrant rejection because thermal stress can cause breakage. Minor surface marks should still be assessed conservatively, especially around the rim.
Why must a pressure canner cool naturally?
Rapid cooling can cause sudden steam release, liquid siphoning, seal failure, or jar breakage. Wait until pressure returns to zero before opening.
Is a sealed jar automatically safe to eat?
No. A seal does not correct an unsuitable recipe, inadequate processing time, wrong pressure, or improper method. Discard food with suspicious appearance, odor, leakage, or a failed process rather than tasting it.
Conclusion
New homesteaders can make canning safer by treating equipment inspection and recipe selection as one system. Match boiling-water or pressure processing to the food, use tested instructions, and verify altitude, jar size, headspace, time, and pressure before turning on the burner. Inspect vents, gaskets, gauges, plugs, rims, jars, and bands every time, then manage steam and cooling without shortcuts. A small practice batch is often more useful than beginning with a full harvest because it reveals whether the canner seals, vents, and regulates pressure as expected. Keep the manual and a reliable preservation source nearby, stop when equipment behaves abnormally, and discard questionable food without tasting it. Those habits protect both the operator and the stored harvest.