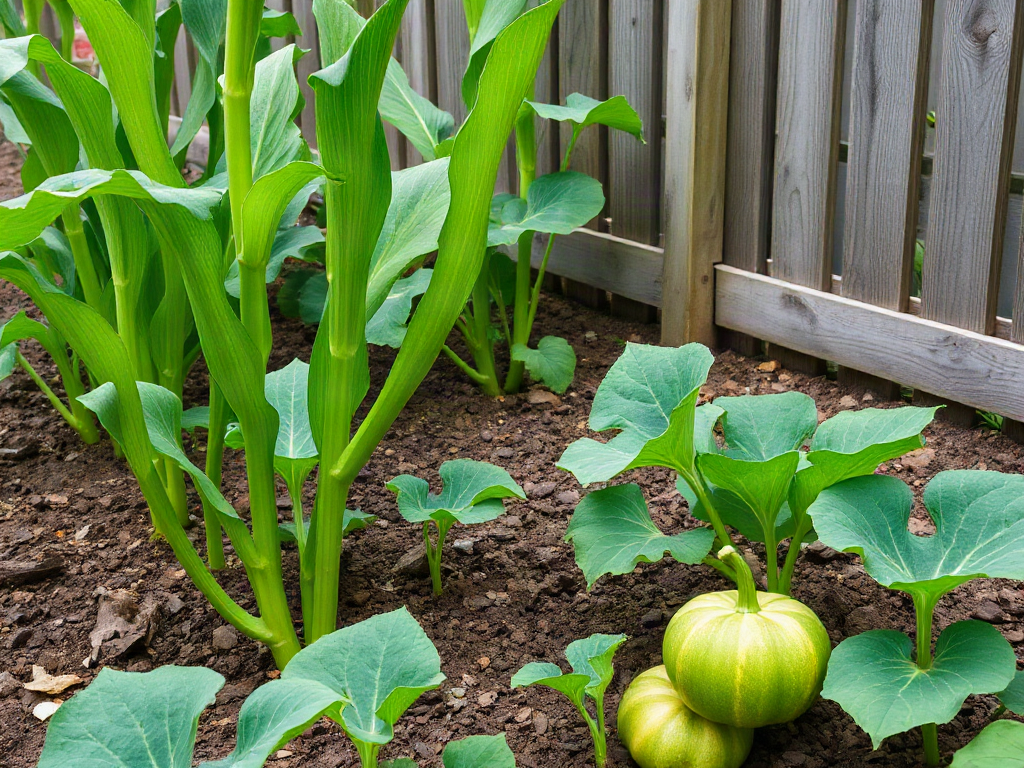
Starting garlic in a beginner homestead garden means planting healthy garlic cloves in loose, well-drained soil during the cool planting window, usually several weeks before the ground freezes. Choose firm, disease-free bulbs suited to your region, separate the cloves without damaging their basal plates, and place each clove pointed side up with the root end down. A mulch layer protects shallow roots from temperature swings, while steady moisture and weed control support spring growth. The most common beginner failures come from planting grocery-store garlic, choosing waterlogged soil, planting too shallowly, or harvesting when the leaves are still too green.
Choose Garlic and Prepare the Bed
Good planting material and a suitable bed determine much of the crop before the first shoot appears. Seed garlic from a reputable nursery, local grower, or farm supplier is generally a better choice than supermarket garlic. Grocery bulbs may be treated to discourage sprouting, may not be suited to your climate, and often provide less reliable information about variety or growing conditions.

Hardneck garlic commonly produces a central flower stalk and tends to perform well where winters are cold. Softneck types often store longer and may be more practical in milder regions. Neither type is automatically best for every beginner; local adaptation, storage goals, and availability matter more than a general label. If nearby growers consistently produce full bulbs, their stock may be a useful regional starting point.
Prepare the soil in a sunny location that receives at least several hours of direct light. Garlic forms bulbs underground, so compacted soil limits expansion and makes harvesting difficult. Work finished compost into the top layer if the bed is low in organic matter, but avoid adding fresh manure, which can supply excessive nitrogen and introduce weed seeds or pathogens.
Drainage deserves priority over convenience. A garlic bed that stays wet after rain can lead to rotting cloves, weak roots, and poor bulb development. A raised bed or broad, slightly elevated planting ridge may be more dependable than a flat bed in heavy soil. Avoid planting garlic immediately after onions, shallots, or leeks when possible, since rotating plant families can reduce the buildup of shared pests and diseases. For additional planning ideas, see Starting garlic in a beginner homestead garden.
- Select large, firm cloves with intact skins and no soft spots.
- Choose a bed with good drainage, sunlight, and easy access for weeding.
- Use compost for structure and organic matter rather than fresh manure.
- Keep a simple note of variety, planting date, and harvest performance.
A common mistake is assuming that the largest bulb will always come from the richest soil. Excess nitrogen can produce lush leaves without matching bulb growth, especially when planting is followed by abundant spring fertility. Moderate fertility, reliable drainage, and a weed-free bed usually matter more than pushing rapid leaf growth.
Plant Cloves at the Right Depth and Time
Plant individual garlic cloves with the pointed tip facing upward and the flatter root plate facing downward. Separate the bulb shortly before planting so the cloves retain their protective skins. Set each clove deep enough that the top is covered by roughly 1 to 2 inches of soil, adjusting for local soil texture and winter conditions. Very shallow planting exposes cloves to temperature swings; excessive depth can delay emergence in heavy soil.
Fall planting is the usual approach in regions with a real winter because the cloves establish roots before dormancy and resume growth early in spring. The ideal date depends on local frost patterns rather than a single calendar day. Planting too early may produce excessive top growth before winter, while planting too late can leave roots underdeveloped. In mild climates, garlic may be planted later in the season, but the variety and local growing advice become especially useful.
Space cloves so each plant has room to build a bulb. About 4 to 6 inches between cloves and 8 to 12 inches between rows is a workable starting range for a home bed, although spacing can change with variety and intended bulb size. Wider spacing improves access for hand weeding and may reduce competition, while tighter spacing fits more plants into a small garden but increases the need for careful moisture and fertility management.
Place cloves in a shallow furrow, cover them gently, and water the bed once if the soil is dry. The aim is to settle the soil around the clove, not saturate the planting area. Mark the rows immediately; garlic can remain out of sight for weeks, and unmarked beds are easily disturbed during late-season cleanup.
Do not treat a brief cold spell as proof that the crop has failed. Root growth can occur before visible shoots appear, and some varieties emerge at different rates. Conversely, green shoots in autumn do not guarantee success if the bed later becomes waterlogged. The condition of the clove and the soil beneath it matters more than early foliage alone.
Manage Mulch, Water, and Spring Growth
Mulch protects garlic from rapid temperature changes, suppresses competing weeds, and reduces soil splash. Apply a loose layer of clean straw or another suitable organic mulch after planting, particularly in areas with freezing winters. The layer should insulate without becoming a dense, wet mat. Heavy, compacted mulch can hold excess moisture against the plants and make spring emergence uneven.
Spring management is mostly about preventing competition. Garlic has narrow leaves and does not shade the soil effectively, so weeds can take water and nutrients before the bulbs enlarge. Hand pull weeds carefully rather than cultivating deeply near the plants; garlic roots occupy the upper soil and can be damaged by aggressive tools. A thin mulch layer refreshed after spring weeding can reduce repeated disturbance.
Water when the soil is drying several inches below the surface, especially during active leaf growth and bulb enlargement. Frequent shallow watering encourages a less resilient root zone, while saturated soil limits oxygen around the roots. Drip irrigation or a soaker hose can deliver moisture to the bed without keeping foliage wet. Reduce watering as harvest approaches so the bulbs can mature under less humid conditions.
Watch the foliage rather than following a rigid feeding schedule. Pale, weak growth may reflect poor fertility, cold soil, root damage, or excess moisture, not simply a need for more fertilizer. If the bed was prepared with compost and the plants are growing steadily, additional feeding may be unnecessary. A soil test is more useful than guessing, particularly when the same bed will support crops for several seasons.
Hardneck varieties may produce scapes in late spring or early summer. These curled flower stalks can be cut when they form one or two loops, allowing the plant to direct more resources toward the bulb while providing a useful kitchen harvest. Leaving a few scapes in place can help you observe maturity and collect bulbils, although bulbils generally take longer to develop harvestable bulbs than cloves.
The most damaging assumption is that more water or fertilizer will create larger garlic. Bulb size depends on variety, clove size, planting timing, leaf growth, spacing, soil conditions, and the length of the growing season. Correcting drainage or removing weeds often has greater value than adding another product.

Harvest, Cure, and Save the Best Bulbs
Garlic is ready to harvest when several lower leaves have turned brown while several upper leaves remain green. The exact timing varies by variety and weather, but the remaining green leaves help form the wrapper layers that protect the bulb. Harvesting too early produces smaller bulbs with less-developed wrappers; waiting too long can leave bulbs with split or deteriorating skins, especially after wet weather.
Test one plant before lifting the entire bed. Loosen the soil with a fork rather than pulling hard on the stalk, because force can break the stem or leave the bulb behind. Brush off loose soil without washing the bulbs, then move them to a dry, shaded, well-ventilated location. Direct sun and high humidity can damage curing bulbs, while poor airflow encourages mold.
Curing usually takes several weeks. Keep the leaves and roots attached during this period so the plant can dry gradually and the outer layers can firm around the bulb. The garlic is ready for storage when the neck is dry and the outer skin is papery. Trim roots and stalks after curing; softneck garlic can also be braided if the stems remain flexible enough.
Store sound bulbs in a cool, dry place with airflow. Do not place them in a sealed plastic container, where trapped humidity can promote spoilage. Inspect the crop periodically and use damaged bulbs first. Storage life differs by variety, so a beginner should record which types remain firm through winter rather than assuming every bulb will keep equally well.
Saving planting stock is a practical homestead advantage, but reserve the largest, healthiest bulbs from plants that matured on schedule. Do not save cloves from bulbs with rot, unusual discoloration, or poor development. Home-saved garlic may gradually adapt to the conditions of the garden, but disease can also be carried forward. Rotating the bed and discarding questionable bulbs protects the next planting more effectively than trying to rescue every piece of stock.
For a first season, prioritize a modest planting that you can weed and harvest on time. A smaller, well-managed bed teaches more than a large patch that becomes overgrown. Pair the crop with notes about planting depth, mulch, rainfall, harvest date, and storage performance; those observations will guide better variety and spacing choices next year.
Frequently Asked Questions
Can grocery-store garlic be planted?
It can sprout, but it may be treated to inhibit growth or poorly adapted to your region. Seed garlic from a local grower or reputable supplier is usually more dependable.
Should garlic be planted in fall or spring?
Fall planting is commonly preferred in cold-winter areas because cloves establish roots before dormancy. Spring planting may suit mild climates or a missed fall window, but bulb size can be different.
How much space does each garlic clove need?
Begin with about 4 to 6 inches between cloves and 8 to 12 inches between rows. Give larger varieties more room if the bed allows, especially when easy weeding is a priority.
How often should garlic be watered?
Water when the soil begins to dry several inches down during active growth, but avoid keeping the bed saturated. Reduce irrigation as harvest nears and allow the surface to dry between waterings.
How do you know when garlic is ready to harvest?
Harvest when several lower leaves are brown and several upper leaves are still green. Lift a test plant first, since early harvest reduces bulb size and late harvest can weaken the protective skins.
Conclusion
A successful first garlic crop depends less on specialized equipment than on a few well-timed decisions. Use healthy, regionally suitable cloves, prepare a sunny bed that drains freely, and plant with the root plate down at an appropriate depth. Protect the bed with loose mulch, control weeds before they compete with the narrow leaves, and water deeply enough to maintain steady growth without creating soggy soil. Harvest after the lower leaves brown, then cure the bulbs in dry, airy shade before trimming and storing them. Begin with a manageable number of plants and record what happens. Those notes will reveal which variety, planting date, spacing, and storage method fit your homestead better than generic instructions alone.