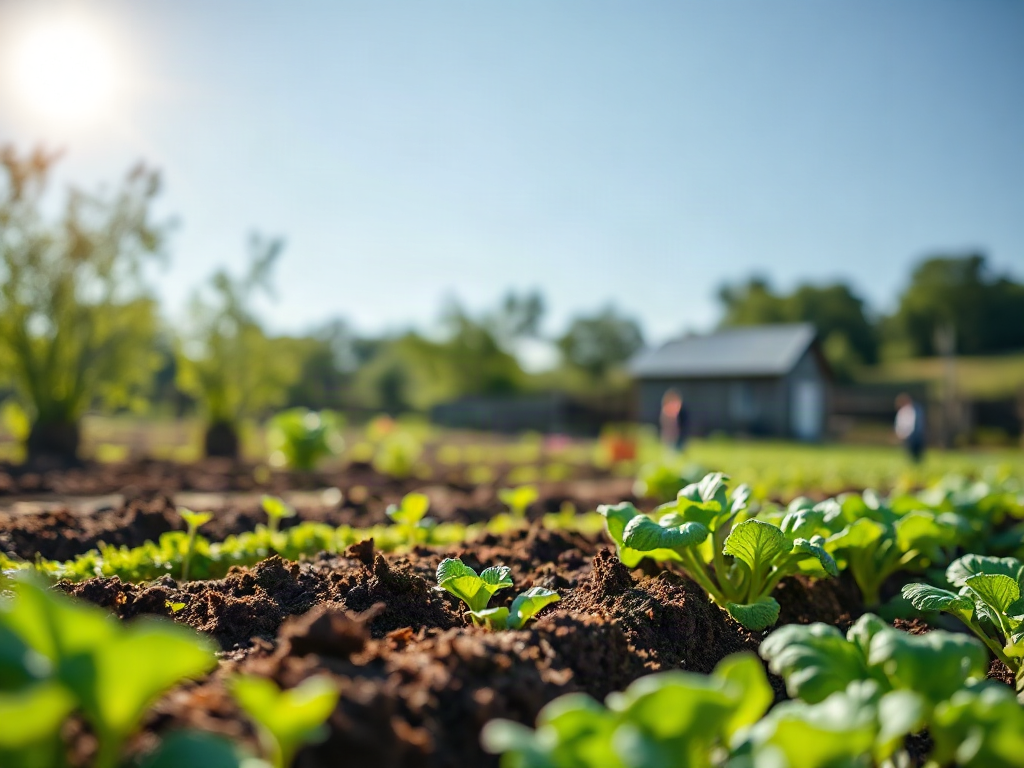
Farming basics for homestead beginners begin with assessing the site, testing the soil, securing dependable water, and choosing a small group of first crops suited to the local growing season. Map sunlight, drainage, slopes, frost pockets, and access before breaking ground because correcting a poor location later consumes time and money. Use a soil test to guide amendments rather than adding fertilizer by guesswork, and confirm that irrigation can reach every planted bed. Begin with a manageable growing area, record planting and harvest results, and expand only after routine watering, weed control, pest checks, and harvesting fit comfortably into the weekly workload.
Read the Land Before Choosing a Growing Site
A useful site assessment begins before digging, tilling, or ordering seeds. Spend several days observing where direct sun reaches the property, where rainwater collects, how wind moves through open areas, and which routes remain convenient when the ground is wet. A level-looking patch can still hold water after storms, while a sunny summer location may be shaded by buildings or evergreens when the sun sits lower in spring and fall.
Vegetable crops generally need abundant direct light, but sunlight alone does not make a good plot. Deep depressions can collect cold air and experience frost while nearby higher ground remains unaffected. Steep slopes shed water and soil, and exposed ridges may dry quickly under wind. The practical choice is often a gently sloping or level area with good air movement, no persistent standing water, and easy access from the house, water source, tool storage, and compost area.
Compare two possible locations using ordinary chores rather than appearance. A distant field may offer excellent sun but require hauling hoses, tools, and harvested produce hundreds of extra steps each day. A slightly smaller plot near the house may receive more frequent inspection, allowing the grower to catch wilt, animal damage, and weeds early. Convenience affects crop performance because delayed work has consequences: a dry seedbed can lose a planting, and one missed harvest can leave beans or summer squash overmature.
Create a simple property sketch and mark the following observations:
- Sun: areas receiving sustained direct light during the growing season.
- Water: hose connections, roof runoff, wet ground, and drainage routes.
- Exposure: prevailing wind, frost pockets, shade, and heat reflected by structures.
- Access: gates, paths, vehicle routes, storage, and space for moving compost.
A common beginner mistake is clearing the largest available space before learning how it behaves. Observe after a hard rain and during a clear day, then stake a modest trial plot. These observations form the physical foundation of Farming basics part one for homestead beginners and prevent expensive corrections after permanent beds or fencing are installed.
Test and Prepare Soil Without Guesswork
Soil preparation should respond to measured conditions, not to a general belief that more compost or fertilizer is always better. A laboratory soil test can report pH and nutrient status and may provide amendment guidance for the intended crop. Sampling several spots across the proposed plot produces a more representative result than collecting soil from one unusually rich or poor corner. Follow the testing laboratory’s instructions for depth, sample handling, and submission.
Texture and structure explain how the ground handles air and water. Sandy soil drains quickly but may require more frequent irrigation and additions of organic matter. Clay-rich soil stores water and nutrients well, yet it can compact if worked while wet. Loam is not automatically fertile, and dark color alone does not reveal nutrient balance or pH. Dig a few inspection holes to check rooting depth, compaction, stones, and signs of prolonged saturation.
For example, a beginner might see slow growth and apply a broad fertilizer, assuming nitrogen is deficient. If the actual limitation is unsuitable pH, compacted soil, or waterlogged roots, added nutrients may not solve the problem and could create an imbalance. A test narrows the decision. Compost can improve organic matter and soil structure over time, but it is not chemically identical from batch to batch and should not be treated as a precise cure for every deficiency.
Choose bed preparation according to existing conditions. An established grassy patch can be converted gradually with sheet mulching or covered beds, although cool soil and incomplete decomposition may delay planting. Shallow cultivation offers faster access but can bring buried weed seeds to the surface. Raised beds warm and drain readily but cost more, dry faster, and require imported material. In-ground rows use existing soil and need fewer purchased materials, provided drainage and compaction are acceptable.
Do not work soil that smears into a slick ribbon or forms a heavy ball when squeezed; disturbing saturated ground can damage structure and create clods that persist after drying. Prepare only the area that can be planted and maintained. The sign of progress is not perfectly fine soil but a bed that drains, allows roots to penetrate, and matches test-based amendment needs. Recheck soil periodically rather than repeating the same additions every season.
Match Water and Infrastructure to Daily Work
A reliable water system must deliver moisture where roots grow without turning irrigation into a daily emergency. Before setting the plot size, measure whether the available hose, pump, well, or stored-water system can serve the far edge of the growing area. Water pressure and flow may decline across long runs or when multiple outlets operate. A large garden planned beyond the practical reach of water is larger than the homestead can currently support.
Seeds need consistent surface moisture during germination, while established plants benefit from deeper watering that moistens the root zone. Lightly sprinkling only the surface can encourage shallow rooting and may leave lower soil dry. Drip tubing and soaker hoses place water near plants and reduce wet foliage, but their output must be checked because clogged emitters, pressure differences, or misplaced lines can leave dry gaps. Hand watering offers close observation but becomes burdensome as the plot expands.
Mulch can reduce evaporation and suppress weeds after the soil has warmed and seedlings are established. Organic materials such as clean straw or shredded leaves also break down over time, though thick mulch can shelter slugs or rodents in some locations. Bare soil warms sooner and makes direct seeding easier, but it loses moisture quickly and invites weed germination. Inspect beneath the surface before irrigating rather than following a rigid calendar; weather, soil texture, crop stage, and mulch all change water demand.
Infrastructure should shorten repeated tasks. Place frequently used tools close to the plot, maintain paths wide enough for a wheelbarrow, and keep compost accessible without blocking work routes. Fencing deserves early attention where deer, rabbits, poultry, or pets are likely to enter. The cheapest barrier is wasteful if animals can push under it or reach over it, so match fence height, opening size, and gate closure to the actual pressure.
Beginners sometimes purchase permanent irrigation and fencing before finalizing the bed layout. A trial season with movable hoses, temporary paths, and a clearly marked boundary exposes awkward turns and overlooked access points. Upgrade after the workflow is proven. For more context on coordinating these systems, use the site’s Farming basics part one for homestead beginners resource as a planning reference.
Choose First Crops and Set a Manageable Scale
First crops should fit the climate, household eating habits, available space, and realistic maintenance time. Seed-catalog appeal is a weak selection method if the crop needs a longer season than the location provides or produces food nobody intends to eat. Use local frost guidance and seed-packet maturity information to distinguish cool-season crops from warm-season crops and to estimate whether there is enough time for harvest.
A compact first planting might combine quick radishes or salad greens, dependable bush beans, several tomato or pepper transplants, and one storage crop suited to local conditions. The exact choices should change with climate and diet. Lettuce may perform well in a cool spring but bolt in summer heat; tomatoes need warm conditions and support; squash uses substantial space and requires frequent harvest. Planting several crop types spreads risk, but planting one packet of everything creates too many different watering, spacing, support, and harvest demands.
Direct sowing is efficient for beans, peas, carrots, and other crops that establish well where they will grow. Transplants provide a head start for long-season crops and make spacing visible, but purchased plants cost more and can suffer if moved outdoors without gradual acclimation. Starting every transplant indoors adds lighting, temperature, potting, and hardening-off work. Beginners often get better results by direct sowing suitable crops and buying a small number of healthy transplants for warm-season plants.
Use a short priority sequence before ordering:
- List vegetables the household already eats regularly.
- Remove crops poorly matched to the local season or available sunlight.
- Estimate mature spacing rather than seed size.
- Choose quantities based on weekly maintenance and likely harvest use.
- Reserve a small area for one experimental crop.
Overplanting is more damaging than a conservative first season because crowded beds restrict airflow, complicate harvesting, and intensify competition for water. Leave room to walk, weed, inspect leaves, and carry produce. Success is a maintained plot with useful harvests and clear records, not the highest possible plant count. Expansion should follow evidence that current beds remain watered, weeded, and harvested during the busiest weeks.
Build a Working Routine and Measure Results
A homestead plot becomes manageable when recurring work is assigned a rhythm. Short inspections several times a week reveal changes that a long monthly work session misses. Look at soil moisture below the surface, new weed growth, leaf color, insect feeding, animal tracks, broken supports, and crops approaching harvest. Early intervention is usually smaller: young weeds pull easily, a loose fence section can be repaired before animals enter, and a leaking connection can be fixed before a bed dries.
Keep records simple enough to maintain. Note planting dates, variety names, approximate quantities, major weather events, amendments, pest problems, and first and final harvests. Weighing every item may be useful for detailed production analysis, but it is unnecessary for a first plot. A notebook entry stating that one bean row supplied more than the household used is enough to inform next year’s planting quantity.
Separate routine symptoms from their possible causes. Wilting at midday can reflect temporary heat stress, dry soil, damaged roots, or disease; adding water without checking the soil may worsen saturated conditions. Yellow leaves can arise from normal aging, nutrient limitations, moisture problems, or root injury. Examine the whole plant, recent weather, soil moisture, and the distribution of symptoms before acting. Avoid spraying or fertilizing solely because one leaf looks abnormal.
Compare results against labor as well as yield. A crop that produces heavily but requires continual pest protection may not earn space on a time-limited homestead. Another crop with a modest harvest may be valuable because it stores well or replaces an item purchased every week. The strongest measure combines food usefulness, reliability, labor, water demand, and growing-space use.
Warning signs include missed watering, mature produce left unpicked, weeds setting seed, and unfinished infrastructure competing with crop care. Respond by reducing the planted area, simplifying crop choices, or improving access rather than working indefinitely at an unsustainable pace. Signs the system is working include predictable chores, timely harvests, declining weed pressure, and records that support specific changes. That feedback turns a beginner plot into a farm system grounded in observed conditions rather than assumptions.
Frequently Asked Questions
How much land should a beginner cultivate?
Cultivate only what can be watered, weeded, inspected, and harvested every week. A small, fully maintained plot provides better planning information than a large area that becomes overgrown.
Should soil be tested before the first planting?
Yes. A laboratory soil test can identify pH and nutrient conditions, reducing unnecessary amendments. Follow the laboratory’s sampling directions and state what crops you intend to grow.
Are raised beds better than planting in the ground?
Raised beds are useful where drainage, contamination concerns, accessibility, or poor native soil justify their cost. In-ground beds are less expensive and retain moisture longer when existing soil drains adequately.
Which crops are easiest for a first season?
Choose crops suited to the local season that your household eats. Bush beans, greens, radishes, and a few purchased warm-season transplants are often manageable, but climate and planting dates determine suitability.
When should a beginner expand the growing area?
Expand after the current plot remains watered, weeded, and harvested through its busiest period. Add one manageable section at a time and confirm that water, fencing, storage, and labor can support it.
Conclusion
A sound first season is built from accurate observations and controlled scale. Map the property before committing beds, use a soil test to direct amendments, and verify that water and access remain practical during busy weeks. Select crops for local timing and household use, not simply for variety, then keep enough space between plants and beds to work efficiently.
Mark a trial plot, collect a representative soil sample, confirm the irrigation route, and choose a short crop list as the next steps. Record what was planted, what demanded the most labor, and what produced food worth growing again. Those notes will show whether the next investment should be improved soil, stronger fencing, better irrigation, or added growing space. Expansion is most productive after the present system works reliably.