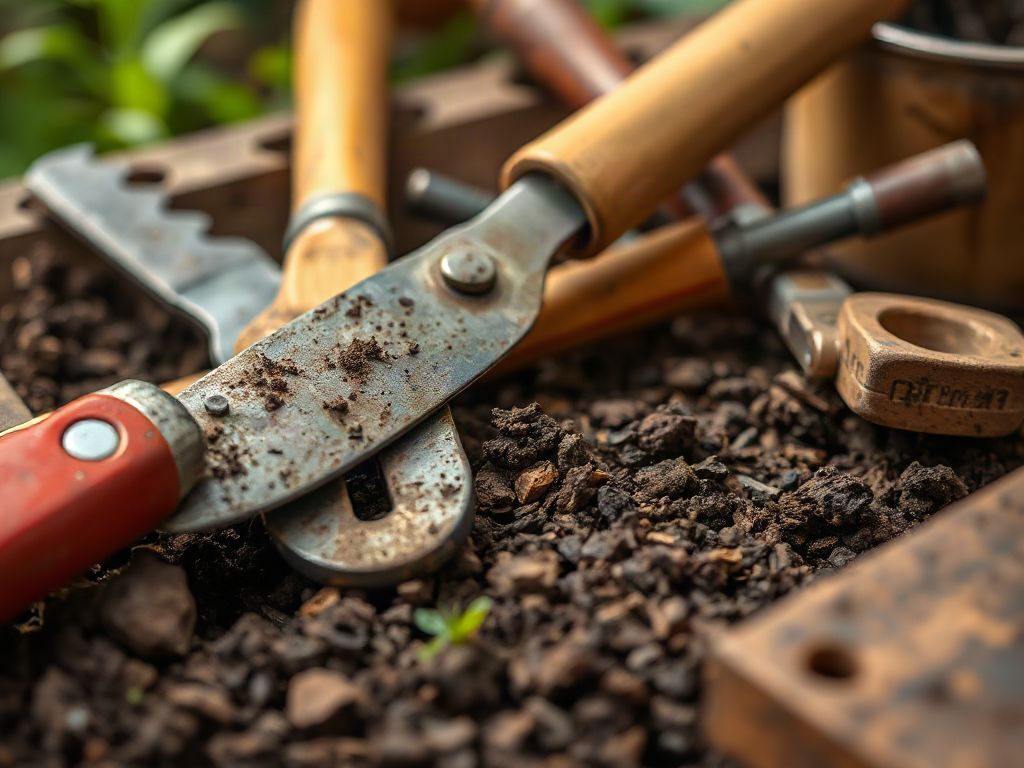
A Basic Homestead Tool Maintenance Routine should clean tools after use, dry metal completely, sharpen cutting edges, inspect handles and fasteners, and store equipment off damp floors. Soil left on shovels or hoes holds moisture against steel, while dull edges force extra effort and can make cuts less controlled. Wipe metal dry, apply a light protective oil to carbon-steel surfaces, and address loose heads or cracked handles before the next job. Pruners benefit from sap removal and a small amount of lubricant at the pivot. A brief inspection after each use, followed by a more thorough monthly check, usually costs less time than repairing corrosion or replacing neglected equipment.
Build the Routine Around Tool Type and Use
A useful maintenance routine begins by separating tools according to their working parts, rather than treating every item the same. A digging fork, bypass pruner, splitting maul, hand saw, and battery-powered drill face different forms of wear. Soil abrades metal and packs into joints, sap gums up cutting tools, impact loosens heads and handles, and outdoor storage exposes steel to condensation. Matching the inspection to the tool’s job makes a short routine more effective than applying one broad cleaning method.

For most hand tools, the best checkpoint is immediately after use. Knock soil from a spade while it is still damp enough to release, then rinse only when necessary and dry the blade before putting it away. Pruners deserve attention after cutting resinous branches because sticky residue attracts grit and can interfere with the pivot. A splitting maul may need only a wipe and edge inspection after a session, but its head and handle should be checked for movement before the next round of work.
A practical schedule has three levels. The first is a one- to three-minute closeout: remove debris, dry exposed metal, and return the tool to a dry location. The second is a weekly or monthly inspection of edges, fasteners, hinges, cords, and handles. The third is seasonal or pre-project service, when you sharpen, oil, replace worn parts, and reorganize storage. A frequently used hoe may need more attention than a larger shovel used once a month, so calendar intervals should be adjusted to workload and weather.
Keep a small maintenance station near the tool shed with a stiff brush, rags, a suitable light oil, sharpening equipment, and basic screwdrivers or wrenches. Do not leave oily cloths piled in a closed corner; store them safely and follow the product label. A common mistake is postponing care until the end of a demanding season. That approach allows minor looseness, sap buildup, and surface rust to become faults that require sanding, disassembly, or replacement.
Use the related Basic Homestead Tool Maintenance Routine as a repeatable reference when setting up a shed checklist, but let actual use determine frequency. The goal is not spotless equipment after every task; it is dependable equipment that is ready when weather, livestock, or a harvest window creates a narrow opportunity to work.
Clean, Dry, and Protect Metal Surfaces
Cleaning protects tools because trapped soil and plant residue hold moisture against steel. A shovel with a thin film of damp clay can begin corroding even when the surrounding shed looks dry. Start by brushing or scraping debris away without striking hardened steel against concrete. For stubborn material, a short soak or controlled rinse can help, but the tool must then be dried thoroughly with a towel and, when practical, allowed to air-dry in a sheltered place.
Rust removal should match the severity of the problem. Light orange surface rust may respond to a wire brush, abrasive pad, or rust-removing product used according to its instructions. Deep pitting is different: it reduces smoothness, can retain moisture, and may weaken a thin cutting edge. Aggressive grinding can remove useful metal and alter the shape of a blade, so reserve power tools for appropriate repairs and use light pressure. A small patch of discoloration is not the same as a compromised edge or deeply corroded fastener.
After metal is clean and dry, apply a thin protective film to carbon-steel blades and other unpainted surfaces. Excess oil collects dust and may contaminate materials or surfaces that contact food, so wipe away the surplus rather than leaving the tool dripping. Stainless steel is more resistant to rust but is not immune to grime, moisture, or damage at joints. Painted and coated surfaces should be inspected for chips that expose bare metal.
Consider the difference between a shovel used in ordinary soil and a post-hole digger stored beside a damp livestock area. The second tool may need more frequent drying and a closer look at rivets and pivot points because humid conditions accelerate corrosion and manure residue can be particularly persistent. A dry shed with airflow is usually more protective than a sealed box where condensation repeatedly forms on cold metal.
Do not use penetrating lubricant as a substitute for cleaning. It may loosen a sticky hinge, but it will not remove abrasive grit or neutralize the problem created by wet storage. Another failure is oiling a tool before it has dried; the coating can trap moisture beneath it. Make drying the non-negotiable step, then use the thinnest protective application that suits the material and storage conditions.
Sharpen Edges and Inspect Handles Safely
Sharp edges reduce the force needed for many tasks, but sharpening should preserve the tool’s intended profile. A hoe normally works with a controlled bevel that lets it skim or slice through soil, while a splitting maul is shaped to separate wood rather than shave it. A pruning shear needs matching blades that meet cleanly. Removing large amounts of metal because an edge feels dull can shorten tool life and produce poor performance.
Before sharpening, clean the edge and look for nicks, bends, cracks, and mushroomed areas. Secure the tool whenever possible, wear eye protection, and keep hands behind the direction of the file or stone. A hand file offers slow, visible control on a shovel, hoe, or axe; a sharpening stone or purpose-designed tool may suit smaller blades. Power grinding generates heat that can change the temper of some hardened edges, so it demands experience and restraint rather than speed.
Pruners provide a useful example of why maintenance is more than sharpening. If sap makes the blades drag, cleaning the blades may restore cutting action without removing additional metal. If the pivot is loose, the blades can bypass one another instead of making a clean cut. Tighten only as much as needed for smooth movement, then apply a small amount of lubricant at the pivot and wipe away excess. A damaged or badly misaligned blade may be safer to replace than to force back into service.
Handles deserve equal attention. Wood handles should be checked for cracks, splinters, soft spots, and excessive looseness around the head. Fiberglass handles can also be damaged by impact, ultraviolet exposure, or deep gouges. A head that moves on a shovel or striking tool should not be ignored; continued use increases the chance of losing control. Replace a structurally compromised handle rather than relying on tape, glue, or a temporary wedge as a permanent repair.
Many owners focus on blade sharpness and overlook balance. A sharp axe with a loose head remains unsafe, and a clean pruner with a bent blade may produce crushed plant tissue. Inspect the complete tool in the position where it is used: check the grip, head, edge, pivot, and fasteners together. The maintenance routine for homestead tools works best when safety defects are handled before cosmetic improvements.
Store Tools and Schedule Deeper Maintenance
Storage determines whether maintenance lasts. Hang long-handled tools where heads do not rest in soil, puddles, or concrete that transfers dampness. Keep sharp edges protected without sealing wet tools inside airtight covers. Small hand tools can be arranged on a dry shelf or pegboard so missing, dirty, or damaged items are visible instead of buried in a bin.

Tool placement also affects working life. Repeatedly dropping a shovel into a crowded corner can chip the blade or split a handle. Leaving pruners open in a pocket or bucket exposes the edge and allows grit into the pivot. A simple rack that supports handles and separates cutting tools often prevents more damage than an expensive storage cabinet. In an unheated shed, airflow and elevation from the floor matter because temperature changes can create condensation.
Use the quieter parts of the year for deeper service. Before spring planting, inspect digging tools, sharpen hoes, test pruner movement, and check that replacement handles or fasteners are available. Before winter storage, remove plant residue, dry every metal surface, apply appropriate protection, and avoid storing battery packs in conditions outside the battery maker’s instructions. Gas-powered equipment requires its own manufacturer-directed fuel and engine procedure; do not improvise by treating it like a hand tool.
A compact inspection order keeps the process from becoming a vague chore:
- Clean: remove soil, sap, grease, and plant fragments.
- Dry: wipe seams, pivots, sockets, and hidden contact points.
- Inspect: look for rust, cracks, looseness, bent parts, and missing fasteners.
- Service: sharpen, lubricate, tighten, or replace only what the tool requires.
- Store: hang or shelve the tool in a dry, visible, protected position.
Record repairs for tools shared by several people. A note such as “pruner pivot cleaned and tightened” prevents duplicate work and signals that the item should be checked again if it begins binding. The tradeoff is modest organizational effort in exchange for fewer surprises during planting, fencing, firewood work, or storm cleanup.
Common Maintenance Mistakes and Practical Fixes
The most damaging mistake is confusing appearance with condition. A bright blade may still have a rolled edge, while a darkened but sound shovel may need only cleaning and protection. Test function carefully: a pruner should open and close smoothly, a shovel head should remain firm, and a saw should cut without excessive binding. These observations are more useful than polishing every visible mark.
Another mistake is using one lubricant for every purpose. A product that helps a hinge may attract dust on a cutting edge, stain a wooden handle, or be unsuitable around food-contact equipment. Read the label, apply sparingly, and keep lubricants away from surfaces that need a clean, dry grip. Do not pour oil into a mechanism simply because it feels stiff; first determine whether dirt, rust, a bent part, or overtightening is causing the resistance.
Over-sharpening is equally costly. A file used aggressively on every visit can change a blade’s geometry, thin the edge, and make it more vulnerable to chips. Touch up when performance declines, remove only the damaged material, and stop when the edge is even and functional. For a tool with a serious crack, distorted head, or unsafe electrical cord, replacement or qualified repair is more sensible than a cosmetic fix.
Ultimately, do not make the routine so elaborate that it is abandoned. A busy household may not complete a full sharpening session after every task, but it can brush off soil, dry metal, and hang the tool. That small closeout prevents the most avoidable damage. Add deeper service on a predictable weekly or monthly date, then adjust after observing which tools fail first and under what conditions.
Frequently Asked Questions
How often should homestead hand tools be maintained?
Clean and dry them after each use, inspect them weekly or monthly depending on workload, and complete sharpening and repair before major seasonal tasks.
What is the best way to prevent rust on carbon-steel tools?
Remove soil, dry the steel completely, apply a thin suitable protective oil, and store the tool elevated in a dry, ventilated location.
Should every dull tool be sharpened with a grinder?
No. A hand file or stone provides better control for many edges, while grinding can remove too much metal or overheat hardened steel.
When should a wooden tool handle be replaced?
Replace it when it has a structural crack, serious splintering, soft decay, or a head that cannot be secured reliably.
Can dirty tools spread problems between garden areas?
Soil and plant residue can carry contaminants between work areas. Cleaning blades and digging surfaces between sensitive tasks reduces that transfer, though it does not replace crop-specific sanitation advice.
Conclusion
Reliable tools come from small, repeatable decisions: remove debris before it hardens, dry metal before applying protection, sharpen only the working edge, and treat looseness or cracks as repair issues rather than inconveniences. Prioritize tools used under force or near the body, including axes, mauls, pruners, and digging tools. Store everything where moisture, impact, and clutter are controlled.
Set up a maintenance station, perform a brief closeout after each job, and reserve a regular block for deeper inspection. Watch for practical signals: smoother pivots, cleaner cuts, firm heads, and less effort during digging or splitting indicate that the routine is working. When a defect remains after cleaning or adjustment, replacement is often safer and more economical than extending a failing tool.
For power tools, batteries, lubricants, and sharpening equipment, consult the manufacturer’s official care instructions because materials, edge profiles, and storage limits vary. University extension publications and recognized tool manufacturers also provide equipment-specific guidance that is more reliable than applying one maintenance method to every tool.