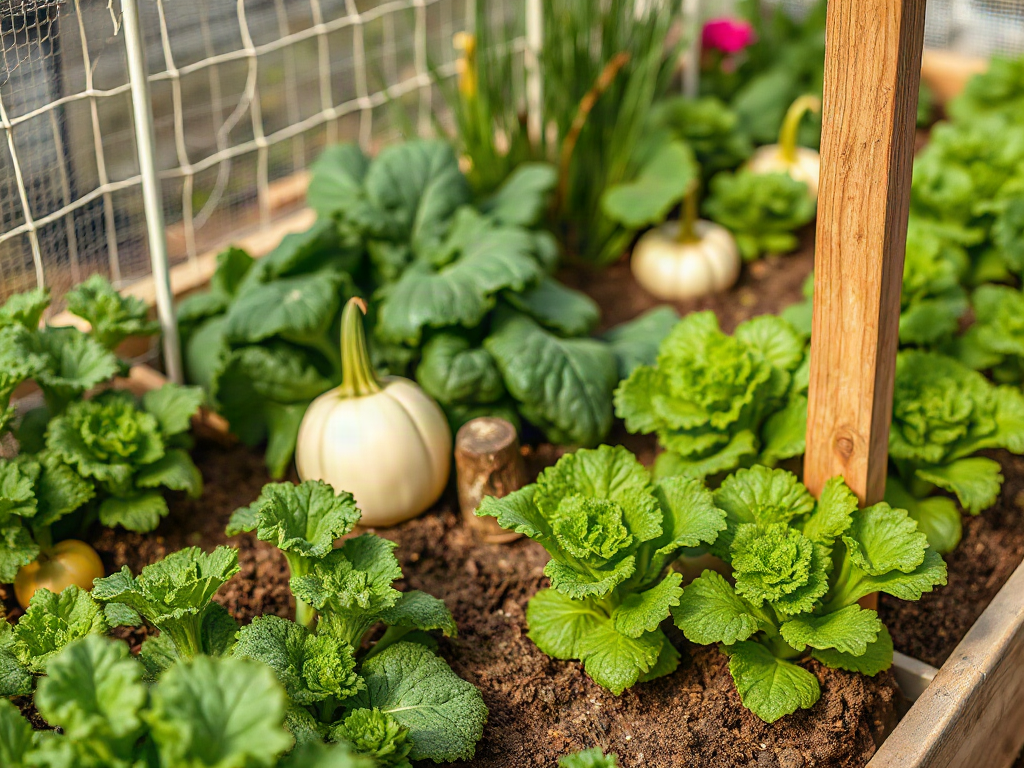
A Central Texas planting guide for homestead beginners should divide vegetables between cool-season windows in late winter and fall and warm-season windows after frost, while accounting for intense summer heat, alkaline soils, and uneven rainfall. Plant tomatoes, peppers, beans, squash, and okra according to soil temperature rather than the calendar alone, and reserve the coolest months for lettuce, carrots, peas, brassicas, and onions. Use compost-enriched beds, drip irrigation, mulch, and afternoon shade where appropriate. Confirm dates against your county’s average frost range because Central Texas elevations and microclimates can shift safe planting by several weeks.
Read the Central Texas Growing Calendar Correctly
Central Texas has productive gardening weather, but it does not follow the simple spring-to-fall rhythm common in cooler regions. Gardeners often get better results from two main vegetable seasons—late winter through spring and late summer through fall—with heat-tolerant crops carrying the garden through early summer. July and August may be less productive than October because extreme heat interferes with germination, pollination, and fruit development.
Frost dates are useful boundaries rather than guaranteed deadlines. Central Texas covers different elevations, urban heat islands, valleys, and exposed rural properties. A protected bed in Austin may remain warmer than an open homestead outside Lampasas or Fredericksburg. Cold air also settles in low areas, so a garden near a creek bottom can freeze while higher ground escapes damage. Beginners should check local extension guidance and keep their own first- and last-frost notes each year.
Soil temperature offers a better planting signal for warm-season vegetables. Beans, squash, cucumbers, and okra struggle when sown into cold, wet ground, even if a generic calendar labels the date as suitable. Tomatoes can be transplanted after frost danger eases, but they still need enough mild weather to flower before persistent high nighttime temperatures reduce fruit set. Waiting too long for complete certainty can therefore shorten the tomato season.
A practical response is to plant a modest first round near the expected safe window and keep protection available. Use frost cloth over securely anchored hoops when a late cold night is forecast. Hold a few replacement transplants rather than placing every tomato or pepper in the ground at once. This approach costs less than heating a large growing space and limits the consequences of one inaccurate forecast.
The calendar in this Central Texas planting guide for homestead beginners should be adjusted by observation. Cold soil, repeated standing water, or a sharp freeze forecast means wait. Warm soil, steady new growth, and nighttime temperatures appropriate for the crop indicate that the window has opened.
Choose Vegetables for Three Productive Seasons
Crop choice should match the season a vegetable finishes in, not merely the weather present on sowing day. A broccoli transplant may tolerate a chilly start but produce poorly if its head develops during hot weather. Okra has the opposite preference: an early sowing may survive, yet it usually grows slowly until the soil and nights become warm.
For the cool season, dependable candidates include carrots, radishes, beets, lettuce, spinach, cilantro, parsley, peas, kale, cabbage, broccoli, cauliflower, and bulbing onions suited to the region. Direct-sow root vegetables because transplanting can deform their roots. Lettuce, radishes, and cilantro are useful for succession sowing in small amounts every few weeks while conditions remain cool. Broccoli and cabbage generally gain an advantage from transplants because they need time to mature before heat or a hard freeze.
Spring beds can hold tomatoes, peppers, eggplant, bush beans, pole beans, cucumbers, summer squash, sweet corn, and melons. Tomatoes are time-sensitive because they need a head start without exposure to damaging cold. Peppers and eggplant tolerate summer heat better but establish slowly in cool ground. Beans and squash grow quickly from seed, making expensive transplants less necessary. Sweet corn needs a block of short rows rather than one long row because wind pollination works better when plants are grouped together.
Once sustained heat arrives, okra, southern peas, yard-long beans, sweet potatoes, Armenian cucumbers, and heat-adapted herbs can replace fading spring vegetables. A beginner garden does not need all of them. Four or five crops matched to household meals are easier to irrigate, inspect, and harvest than a large assortment with conflicting needs.
Fall deserves its own planting effort rather than being treated as leftover spring. Tomatoes may be restarted with sturdy transplants in midsummer, while broccoli, kale, carrots, and other cool-weather foods follow as temperatures begin to moderate. The difficult tradeoff is that fall vegetables must often germinate while the surface is still hot. Temporary shade cloth and close moisture management help, but sowing too early can be as damaging as sowing late.
Prepare Beds for Heat, Limestone, and Heavy Rain
Central Texas garden preparation should focus on root-zone conditions rather than trying to transform an entire property. Local soils range from shallow limestone ground to dense clay and river-bottom soils, so assumptions based on appearance are unreliable. A soil test is more useful than automatically adding lime, especially because many area soils are already alkaline. Unnecessary lime can make existing nutrient availability problems harder to correct.
For a first garden, a sunny, well-drained bed near a reliable water source is usually more valuable than the largest possible plot. Most fruiting vegetables need strong light, but a site with morning sun and limited late-afternoon shade can protect leafy crops during warming weather. Avoid roof runoff channels and low spots where stormwater collects. Central Texas can shift from dry conditions to intense rain quickly, and roots deprived of oxygen may decline even when the bed looked dry days earlier.
Work finished compost into the upper soil before planting, but do not assume more organic matter is always better. Thick layers of undecomposed material can tie up nitrogen near the surface or create uneven moisture. Raised beds offer control over drainage and soil texture, although they dry faster and cost more to fill. In-ground rows are cheaper and retain moisture longer where soil is reasonably deep. A beginner with rocky ground may find one or two raised beds more manageable than repeated excavation.
Drip lines or soaker hoses deliver water to the root zone with less leaf wetting than overhead sprinklers. Apply water deeply enough to encourage roots below the hottest surface layer, then check the soil rather than watering by habit. A finger test or small trowel reveals whether the root zone is moist beneath a dry-looking crust. Constant shallow watering produces shallow roots and may leave plants vulnerable when a hot, windy day increases demand.
After seedlings establish, add two to three inches of clean organic mulch while keeping it away from stems. Mulch moderates soil temperature and reduces evaporation, but it can conceal pill bugs, slugs, or overly wet soil. Pull it back briefly if young stems are being damaged or the bed remains saturated. The bed-building advice in this Central Texas planting guide for homestead beginners is intended as a starting point; a laboratory soil test and drainage observations should guide later amendments.
Use a Month-by-Month Planting Schedule
A month-by-month schedule works best as a sequence of planting opportunities, not a promise that every listed crop belongs in the ground on the first day of the month. The following outline reflects a broad Central Texas pattern. Gardeners should move it earlier or later according to their county, elevation, forecast, and the maturity period printed on the seed packet.
- January: Prepare beds, test soil, order regionally suitable seed, and plant onion transplants. Direct-sow peas, spinach, carrots, radishes, and hardy greens when the ground is workable.
- February: Continue roots and greens; set out hardy brassica transplants. Start or maintain warm-season seedlings under bright light, but keep frost protection ready outdoors.
- March: Transplant tomatoes near the locally appropriate frost window. Sow beans, squash, cucumbers, and corn after the soil warms and cold rain is no longer persistent.
- April: Set out peppers and eggplant, fill gaps in warm-season rows, mulch established beds, and install trellises before vines become tangled.
- May and June: Plant okra, southern peas, sweet potatoes, and other heat-adapted choices. Remove exhausted cool-season crops and monitor irrigation coverage.
- July and August: Begin fall tomatoes where practical and start brassicas in protected conditions. Sow small test rows rather than risking an entire seed packet in hot soil.
- September and October: Establish broccoli, cabbage, kale, lettuce, carrots, beets, radishes, peas, and herbs as temperatures allow. Replace failed early sowings promptly.
- November and December: Continue hardy greens and roots in suitable locations, protect tender plants during freezes, and use open beds for compost or cover crops.
Seed-packet days to maturity help determine whether a planting can finish before heat or frost, but those figures are not countdown guarantees. Stress, short winter days, transplant shock, and poor soil temperatures slow development. Add a practical buffer, especially for fall crops approaching the first freeze. A 60-day crop planted exactly 60 days before a typical frost has little margin for delayed germination.
Succession planting reduces the risk of one storm, pest outbreak, or hot spell ruining the entire harvest. Sow a short row of beans, radishes, or lettuce, then repeat later if the weather remains suitable. The common alternative—planting every seed in one weekend—creates a brief glut and leaves no replacement if the first sowing fails.
Protect Seedlings and Recognize Early Failure
Daily observation is more valuable than reacting after an entire bed collapses. Newly transplanted vegetables should regain firmness after the coolest part of the day and begin producing fresh growth. Seeds should emerge within a period consistent with their packet and soil temperature. Uniformly pale plants, stalled growth, missing seedlings, or wilt that continues overnight signal a problem that additional water may not solve.
Heat stress usually appears first as midday wilting, curled leaves, sunscald, blossom drop, or dry bed edges. Some midday droop is temporary, but plants that remain wilted at dawn need attention. Check moisture several inches down and inspect the drip line for clogged emitters. Shade cloth can protect transplants and fall seedbeds, although dense shade left in place too long encourages weak growth and reduces flowering. Afternoon protection is generally more useful than blocking gentle morning light.
Overwatering can resemble drought because damaged roots cannot supply the leaves. Before irrigating a wilted plant, examine the root zone. Sour-smelling soil, persistent saturation, yellow lower leaves, and decline following heavy rain point toward poor aeration. Improve drainage and allow the bed to dry appropriately rather than adding fertilizer to stressed roots.
Inspect leaf undersides and growing tips for eggs, caterpillars, aphids, and chewing damage. Hand removal, row covers installed before pests arrive, and prompt disposal of badly infested crop residue can be practical at homestead scale. Row covers must be removed or opened when insect-pollinated crops begin flowering. Diagnose damage before applying any control; holes from caterpillars, leaf scorch from heat, and distorted growth from herbicide drift require different responses.
Keep a simple record of variety, sowing date, weather, first harvest, and failure cause. A notebook showing that one bed floods in May or that a tomato variety stops setting fruit early is more relevant to next year’s decisions than a statewide date alone. For a compact seasonal reference, return to the Central Texas planting guide for homestead beginners and adjust each window using those property-specific records.
Frequently Asked Questions
When should beginners plant tomatoes in Central Texas?
Set out tomatoes around the locally appropriate last-frost window when the forecast is stable and the soil has warmed. Keep frost cloth and spare transplants available because planting too late shortens the mild-weather fruit-setting period.
What vegetables handle Central Texas summer heat?
Okra, southern peas, yard-long beans, sweet potatoes, and selected heat-adapted cucumbers tolerate summer better than lettuce, peas, or broccoli. Even heat-loving vegetables need consistent root-zone moisture while becoming established.
Is fall or spring better for a Central Texas vegetable garden?
Both can be productive. Spring favors tomatoes, beans, squash, and cucumbers, while fall often provides a long window for carrots, leafy greens, broccoli, cabbage, and other cool-season foods.
Do raised beds work well in Central Texas?
Raised beds are useful over shallow rock or poorly drained clay and make soil texture easier to control. They cost more to establish and dry faster than in-ground beds, so dependable irrigation is necessary.
How often should a Central Texas vegetable garden be watered?
Water according to root-zone moisture, weather, crop stage, and bed type rather than a fixed daily schedule. Check several inches below the surface and irrigate deeply when that zone begins drying, avoiding constant shallow applications.
Conclusion
A productive first garden in Central Texas comes from using the region’s separate cool- and warm-season opportunities rather than forcing every vegetable into spring. Confirm the frost range for your county, read soil temperature and drainage conditions, and begin with a small selection of foods your household will use. Build beds where water is accessible, improve only the root zone, and match irrigation to moisture below the surface. Planting in short successions preserves replacement options when heat, storms, or pests disrupt an early sowing. Record what happens in each bed, including varieties and weather-related failures. Those notes will turn broad regional dates into a dependable calendar for your particular homestead.