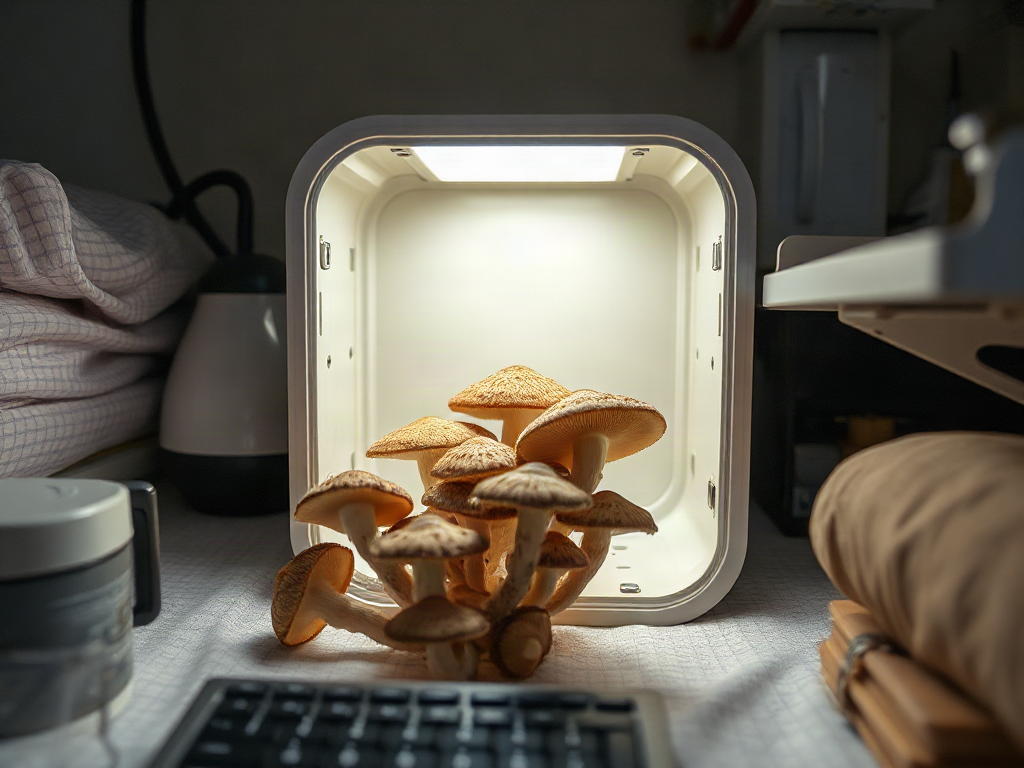
Mushroom farming equipment for a home operation should control cleanliness, temperature, humidity, fresh-air exchange, and light without turning a spare room into an expensive laboratory. A practical setup uses washable shelving, a humidity-controlled fruiting enclosure, an exhaust or filtered-air system, a thermometer-hygrometer, and species-appropriate growing containers. Add a pressure canner or sterilizer only if you intend to prepare sterile grain spawn or supplemented blocks; ready-to-fruit blocks require far less equipment. Spend first on environmental monitoring and easy sanitation, because stagnant air, wet surfaces, overheating, and contaminated substrate cause more trouble than a lack of specialized gadgets. Expand only after one small fruiting area produces consistently.
Match the Equipment to Your Growing Method
The equipment list changes sharply depending on whether you fruit purchased blocks, inoculate pasteurized bulk substrate, or produce sterile grain spawn. Fruiting ready-made blocks is the simplest home model: the supplier has already completed inoculation and colonization, so the grower mainly manages humidity, airflow, temperature, and harvest timing. Producing spawn introduces sterile transfers, pressure sterilization, and a much smaller margin for error.
A household testing oyster mushrooms on two ready-to-fruit blocks may need only a washable tray, a humidity tent or compact chamber, a small humidifier, environmental meters, and indirect light. The same household making supplemented sawdust blocks would also need heat-safe bags with filter patches, a pressure-capable vessel, an impulse sealer, substrate containers, accurate scales, and a clean inoculation workspace. Buying the second set before proving demand or mastering fruiting creates cost without solving the immediate growing problem.
Species choice matters as much as scale. Oyster mushrooms tolerate several accessible substrates but require substantial fresh-air exchange while fruiting; inadequate air commonly produces stretched stems and undersized caps. Lion’s mane can fruit from filter-patch bags but reacts poorly to direct drafts and overly wet surfaces. Shiitake blocks generally follow a different incubation and fruiting rhythm. A single chamber can serve several species, but not necessarily at the same settings or at the same time.
Separate the operation into three functional zones even if each zone is only a shelf or table. Incubation needs stable conditions and minimal disturbance. Fruiting needs controlled humidity plus air exchange. Substrate handling needs surfaces that can be cleaned and enough room to measure and mix without scattering material through the house. Keeping these activities distinct reduces the chance that spores, damp debris, or raw substrate will reach colonizing cultures.
A common mistake is treating a mushroom kit as a scaled-down commercial farm. Commercial equipment is designed for throughput, labor savings, and repeated batches; a home system should emphasize observation and easy cleaning. Before purchasing Mushroom farming equipment for a home operation, write down the species, number of blocks per cycle, substrate source, and whether spawn will be purchased or produced. Those four decisions remove most unnecessary items from the shopping list.
Build a Controllable Fruiting Area
A useful fruiting area holds moisture in the air while regularly removing carbon dioxide and excess surface water. Humidity alone is not enough. A sealed tote with a powerful fogger may remain damp yet produce weak mushrooms because respiration from the blocks consumes fresh air and raises carbon dioxide around developing fruit bodies.
For a few blocks, a modified clear tote, humidity tent, or wire shelving unit covered with washable plastic can work. Larger home batches are easier to manage in a small grow tent with waterproof flooring beneath it. Shelves should resist rust and permit airflow around bags. Wood shelving is inexpensive, but it absorbs moisture and becomes difficult to sanitize once condensation repeatedly reaches it.
Use a digital thermometer-hygrometer as a monitoring tool rather than assuming its display is perfectly representative. Position it near the blocks, away from the humidifier outlet and exhaust stream. A sensor directly in fog reports the output of the machine rather than the conditions experienced by most of the crop. Check the chamber for dry block surfaces, standing water, heavy condensation, and changes in mushroom shape. Those observations reveal problems a single sensor can miss.
Humidity can come from an ultrasonic humidifier outside the chamber, with mist delivered through tubing, or from a unit safely positioned where it cannot be soaked. A humidity controller reduces manual switching, but it does not correct poor air movement. Exhaust fans, timed fans, or filtered air inlets should exchange air without blowing continuously across the fruit bodies. Direct airflow can dry pins even when the general chamber reading appears high.
Ordinary indirect daylight or a modest waterproof LED on a timer is generally sufficient for species that use light as a fruiting cue; strong horticultural grow lights are unnecessary. Electrical connections must remain outside wet zones whenever possible, with drip loops and outlets protected appropriately for damp locations. A humid chamber should never depend on exposed power strips resting on the floor.
Signs of a balanced chamber include normal species-specific form, surfaces that are moist but not dripping, and no persistent sour or stagnant odor. Long stems, small caps, or coral-like oyster growth point toward inadequate fresh air. Cracked or drying edges suggest low humidity or excessive direct airflow. Pooling water and slimy tissue indicate too much moisture or insufficient evaporation. Adjust one variable at a time, then observe the next growth response rather than repeatedly changing every controller setting.
Choose Tools for Substrate and Spawn Preparation
Substrate equipment should match the biological cleanliness required by the recipe. Straw or similar low-nutrient bulk material is often treated through pasteurization, which suppresses competing organisms without making the substrate sterile. Supplemented sawdust and grain are nutrient-rich and generally demand pressure sterilization plus careful inoculation. Confusing these processes is a frequent source of green mold and wasted bags.
A basic bulk-substrate station may include a lidded heat-safe vessel, thermometer, draining basket or clean rack, buckets, measuring containers, gloves, and a scale. A sturdy tote can serve as a mixing container if it is smooth and washable. Substrate should be cooled and drained before inoculation; material that is too wet limits oxygen within the bag and creates favorable conditions for bacteria. Field-capacity checks can offer a rough indication, but weighing water and dry ingredients makes batches easier to repeat.
Home spawn production raises both cost and technical difficulty. Grain jars or filter-patch bags need a pressure canner or sterilizer that can maintain the conditions required by the chosen process. Not every household pressure cooker has suitable capacity or controls, and safe operating instructions from the manufacturer take priority over improvised schedules. An impulse sealer is useful for filter-patch bags, while jars require appropriate lids and gas-exchange filters.
A still-air box is a low-cost enclosure for culture transfers because it reduces moving air and the contaminants carried by it. It is not a sterile chamber, and filling it with chemical spray does not make technique irrelevant. A laminar-flow hood can provide a cleaner working stream when properly designed and maintained, but it is difficult to justify for occasional batches. Poorly assembled airflow equipment may simply direct unfiltered room air across exposed grain.
For a small operation, buying reputable spawn is often more economical than maintaining cultures. It transfers the most contamination-sensitive stage to a specialist and lets the grower concentrate on substrate preparation and fruiting. Producing spawn becomes more reasonable when batches are frequent, suitable sterile equipment is already available, and failed jars can be discarded without undermining the operation’s budget.
Track each batch with species, spawn source, substrate formula, inoculation date, and treatment method. If contamination repeatedly appears before full colonization, review moisture, heat treatment, cooling, transfer technique, and spawn quality instead of purchasing another humidifier. The substrate side and the fruiting side solve different problems, a distinction that should shape every Mushroom farming equipment for a home operation decision.
Prioritize Sanitation, Harvesting, and Storage
Sanitation equipment should make routine cleanup simple rather than create the illusion of a sterile household room. Smooth worktables, washable bins, dedicated brushes, clean towels, handwashing supplies, and a suitable surface cleaner are more valuable than decorative laboratory accessories. Organic debris must be physically removed before a disinfectant can reliably contact a surface.
Keep dirty and clean tasks moving in one direction. Raw straw, sawdust, compostable scraps, and used blocks should not cross the bench where cooled substrate or open containers are handled. Clean the workspace before bringing out inoculation materials, then keep doors, fans, pets, and unnecessary movement to a minimum. Gloves protect the substrate only when changed or cleaned appropriately; touching a phone, door handle, and sterile bag with the same gloves defeats their purpose.
A compact sanitation and harvest kit can remain modest:
- Cleaning: washable tubs, brushes, disposable or launderable towels, and labeled cleaning solutions used according to their directions.
- Harvesting: a sharp knife, clean scissors where suitable, and a food-safe collection tray.
- Weighing and records: a digital scale, waterproof labels, and a batch notebook or spreadsheet.
- Storage: breathable produce containers or paper bags, refrigerator space, and clean transport boxes.
Harvest tools should be easy to clean and sharp enough to remove clusters without crushing them. Trim substrate debris away from saleable or edible portions before refrigeration. Fresh mushrooms release moisture after harvest, so sealed plastic can trap condensation and accelerate deterioration. Breathable packaging and prompt cooling are generally more useful than buying an elaborate packaging machine for a small household crop.
Spent blocks require their own plan. They may be composted or used in an appropriate outdoor bed if local conditions and the substrate make that practical, but visibly contaminated material should be moved out of the growing area promptly. Opening a moldy bag indoors distributes spores and makes diagnosis harder. Seal questionable blocks before moving them, clean the contact area, and review the batch record for patterns.
Respiratory comfort also deserves attention. Fruiting mushrooms can release spores, especially when harvest is delayed. Keep fruiting chambers out of bedrooms and heavily occupied living areas, ventilate appropriately, and harvest on schedule. Anyone with respiratory sensitivity should be especially cautious about indoor exposure and seek qualified guidance when needed. A home crop should not trade a small harvest for persistently damp rooms or poor indoor air quality.
Use a Purchase Order That Prevents Overspending
A staged purchase order reveals whether the growing process works before money is committed to advanced equipment. Begin with purchased fruiting blocks and a chamber sized for the intended household output. This exposes the operator to environmental control, harvest timing, cleaning, and postharvest storage without adding sterile culture work.
The first purchases should be washable shelving or a chamber, a reliable temperature and humidity meter, humidity delivery, planned air exchange, collection trays, and cleaning tools. Test the empty chamber before adding blocks. Run it through day and night conditions, look for leaks and condensation, and confirm that the room itself does not become damp. A controller that cycles correctly in the afternoon may behave differently when household heating changes overnight.
Add substrate-processing equipment only after the fruiting area performs predictably. For example, a grower harvesting consistent oyster clusters from purchased blocks might next prepare pasteurized straw using bought spawn. That step adds mixing, moisture control, and incubation but avoids culture transfers. Sterile grain and supplemented blocks should come later, after contamination records and batch volume can justify pressure equipment and a dedicated clean workspace.
Use this order to evaluate each proposed purchase:
- Identify the failed or labor-intensive step the item will address.
- Confirm that the item is compatible with the selected species, batch size, containers, and household electrical capacity.
- Estimate cleaning time, storage space, consumables, and replacement parts—not only the purchase price.
- Test the process at small scale and record whether the equipment changes contamination, crop form, labor, or consistency.
Skip oversized sterilizers, automated bag fillers, commercial refrigeration, and permanent room construction until throughput makes their benefits measurable. Cheap equipment can also be false economy: a weak shelf may corrode or sag, while an inaccurate controller can cycle humidity poorly. Favor components that are washable, replaceable, appropriately rated, and easy to inspect.
Expansion is justified when batches repeatedly reach the same stage on schedule, environmental readings are stable, contamination has a traceable cause rather than appearing randomly, and harvested mushrooms can be cooled or used promptly. If results vary widely, another machine may hide the underlying issue. Records, controlled trials, and a small number of dependable devices produce better purchasing decisions than copying a commercial equipment list.
Frequently Asked Questions
What equipment does a beginner need to grow mushrooms at home?
For ready-to-fruit blocks, begin with a washable chamber or tent, shelving, a thermometer-hygrometer, controlled humidification, fresh-air exchange, indirect light, cleaning supplies, and a harvest knife. Spawn-making equipment is unnecessary at this stage.
Do I need a pressure canner for home mushroom growing?
Not for purchased blocks or every pasteurized bulk substrate. A suitable pressure canner or sterilizer becomes relevant when preparing grain spawn or nutrient-rich supplemented blocks that require sterile processing.
Can I use a plastic tote as a fruiting chamber?
Yes, for a small number of blocks, provided the tote allows controlled air exchange, retains adequate humidity, drains or wipes clean easily, and does not leave mushrooms sitting in stagnant, saturated air.
Is a laminar-flow hood necessary for making mushroom spawn?
No. A carefully used still-air box can suit occasional home transfers. A properly built flow hood is more useful for frequent sterile work, but it adds cost, maintenance, and space requirements.
Where should a home mushroom fruiting chamber be located?
Choose a washable, ventilated area away from bedrooms, food-preparation surfaces, direct sun, and major temperature swings. Protect the building from condensation and keep electrical connections away from water and fog.
Conclusion
A sensible home setup grows in stages. Prove that you can manage a few purchased blocks, read mushroom form, balance moisture with fresh air, and clean the chamber between cycles. Then add substrate-processing tools if making blocks will reduce costs or support a larger schedule. Sterile culture and spawn equipment belong later, when production frequency can justify the expense and contamination risk.
Before ordering anything, map the incubation, fruiting, cleaning, and storage areas. Confirm that damp conditions will not damage the room, place sensors where they represent the crop, and keep electricity separated from moisture. Record each batch so equipment purchases respond to a documented bottleneck. A compact system that is washable, observable, and easy to operate will usually serve a home grower better than an impressive collection of underused machinery.